How Can We Help?
Search for answers or browse our help center.
Replace a Tilt head with a Dual-Drop Head
KIT2-001 Replace a Tilt Head with a Dual-Drop Head
Sheet 1 – Remove the original head piece from the main frame
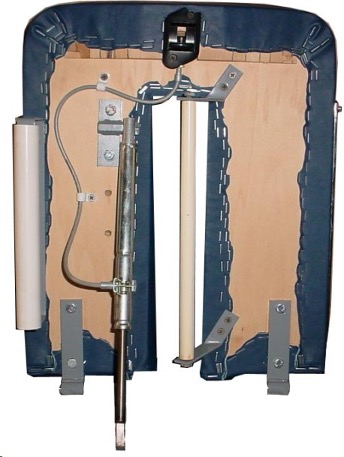
- Remove the two screw s holding the black release trigger.
- Remove all cable restraints.
- Remove the bolt securing the mechlok to the cushion bracket.
- Remove the mechlok bracket and the paper guide assembly from the cushion also.
- Remove the screw s securing the cushion to the hinges.The cushion is free.
- Disassemble the hinges from the main frame by removing the shoulder bolts.
- The paper roll holder and paper cutter may be able to stay attached if the new head frame fits between them. The cutter can stay if it is the style mounted on the side of the cushion.
Sheet 2 – Modify Cushion (not necessary if your frame came with a new cushion or if your original cushion is 19″ long)
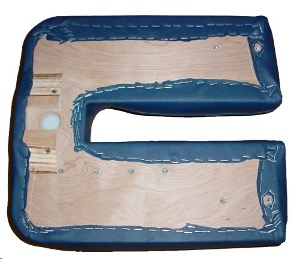
- Use a small flat blade screw driver or brad puller to carefully remove staples along the length of the wood block without tearing the material.
- R emove the screws securing the wood block to the cushion.
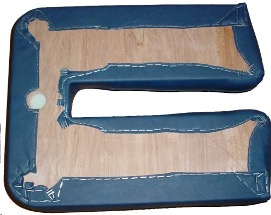
3. Pull the material with enough tension to keep the seam straight on the top of the cushion while securing the material to the wood again with heavy duty staples as show n to the right.
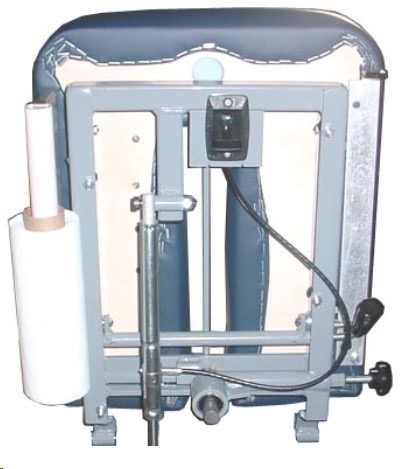
Sheet 3 – Attach the New Head Piece
- Lay the head cushion, padded side down, on a clean surface so that it doesn’t get damaged.
- Lay the new dual-drop unit on the cushion and secure it with the 3/4″ screws.
- Add the paper roll holder and paper cutter if they w ere previously removed.
- Bolt the new unit to the table frame with the original shoulder bolts.
- Attach the mechlok to the head unit as show n.
- Hold the black mechlok release in the location show n and pre-drill 1/8″ holes in the frame for two screws.
- S ecure the release w ith two self-tapping screws.